This post may contain affiliate links, which means I’ll receive a commission if you purchase through my link, at no extra cost to you. Please read full disclosure here.

Barbie Mermaid Nails:
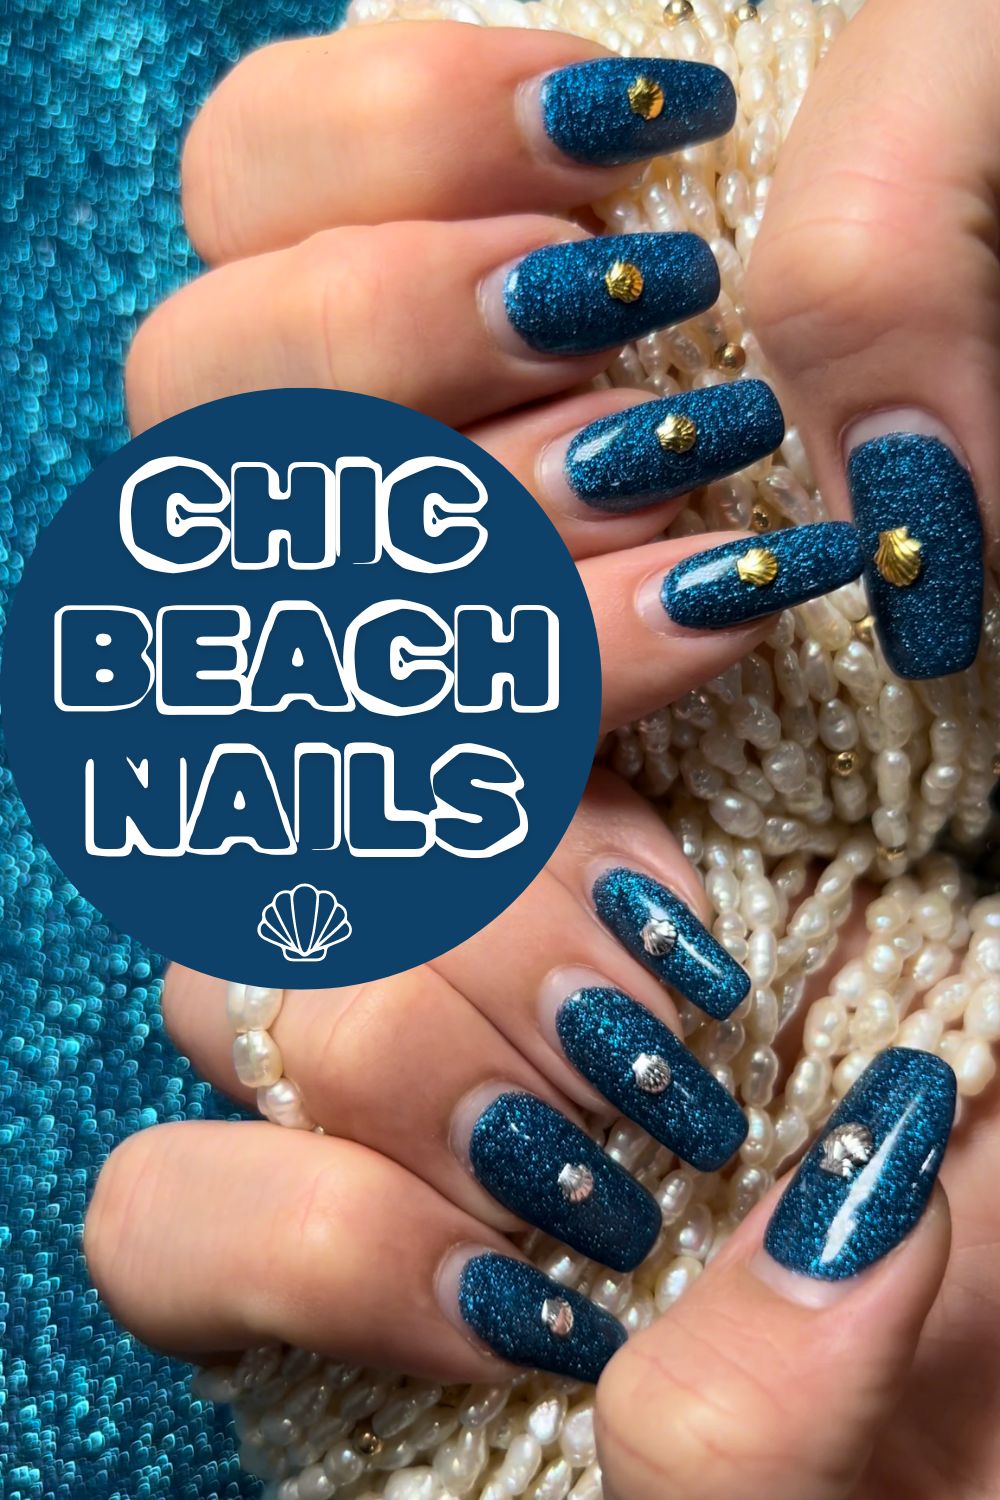
Shimmery Pink Glitter Nails with Gold Seashells, Stars & Pearl Accents
Come on Barbie, let’s go party under the sea, with these perfectly pink, Barbie Mermaid Nails! I personally don’t enjoy painting my nails… but I LOVE bedazzling them! So today I’m going to show you how I decorate my nails after my nail appointment. It doesn’t take much time or money to add nail charms to your mani, so it’s a great beginner DIY, even if you’ve never done it before.
For Barbie Mermaid Nails, I think a shimmery pink nail polish base is a must! But if you’re more of a blue mermaid girl (or any other color for that matter) feel free to paint your base polish in your desired color. For the design, I looked through my pack of gold nail charms and picked out a few favorites that matched the Barbie Mermaid aesthetic, then began arranging them on my nails until I liked the design. I started with a gold star and a seashell on both the ring finger and the thumb, placing them in mirroring positions. I loved the initial turnout, but after further review, I decided: #1 the thumb needed more bling and #2 Barbie ‘the Pearl Princess’ wouldn’t be caught without pearls! So I promptly added a cute little pearl nail charm to bling out the thumb- and the look was complete! MER-mazing!
You can find the gold seashell nail charms on Amazon, & Pearls though I found mine at my local craft store. I’ve also linked a clear gel polish base & top coat and a light for curing. You can read my how-to guide and follow along while watching my video tutorial, both below.
How to add Barbie Mermaid Nail Charms:
- You can adhere these gems anywhere on your nail! first, decide on your layout or follow my Barbie Mermaid Nail design for inspo!
- Add a dab of gel polish to the back of one nail charm, then use tweezers to place the charm on your nail. You can slide the charm to reposition it on the nail a bit, but try to place it as exact as possible, and smooth out or wipe away any excess gel polish, to reduce unwanted build up on the nail.
- Cure the polish to lock your charm in place by setting your nail under a UV LED light for 30-60 seconds as directed. *For my thumbs, I was able to place two charms at a time, then cure. If you are having trouble with the charms sliding out of place, it may be easier to place and cure each charm individually, building as you go.
- Once you have all the desired charms cured on one finger nail, you can paint more gel around all the edges of your charms to make sure all edges are making contact with your nail. Cure once more under the light as directed.
- Lastly, paint a final coat of gel polish over the entire nail and charms. Cure one more time to seal your nail art!
By now the clear gel polish should have built up around the charm enough to lock it in place with a smooth finish so that it doesn’t snag on your hair or clothes. If it still feels rough, one more coat & cure should fix it!


Leave a Comment