This post may contain affiliate links, which means I’ll receive a commission if you purchase through my link, at no extra cost to you. Please read full disclosure here.

Watch my Butterfly Halo Crown Tutorial Video,
then scroll down for step by step instructions!
How I made this massive Butterfly Halo Crown for under $10!
Live out your butterfly fairy princess dreams with this easy to make, Butterfly Halo Crown tutorial! This halo crown is the perfect show-stopping accessory for a butterfly fairy princess! The best part- the materials cost under $10 and can all be found at the Dollar Tree! I like to pair my crown with my All Hallow’s Eve mermaid tail because I feel like the tail design nods to a butterfly’s wing spotting and patterns.
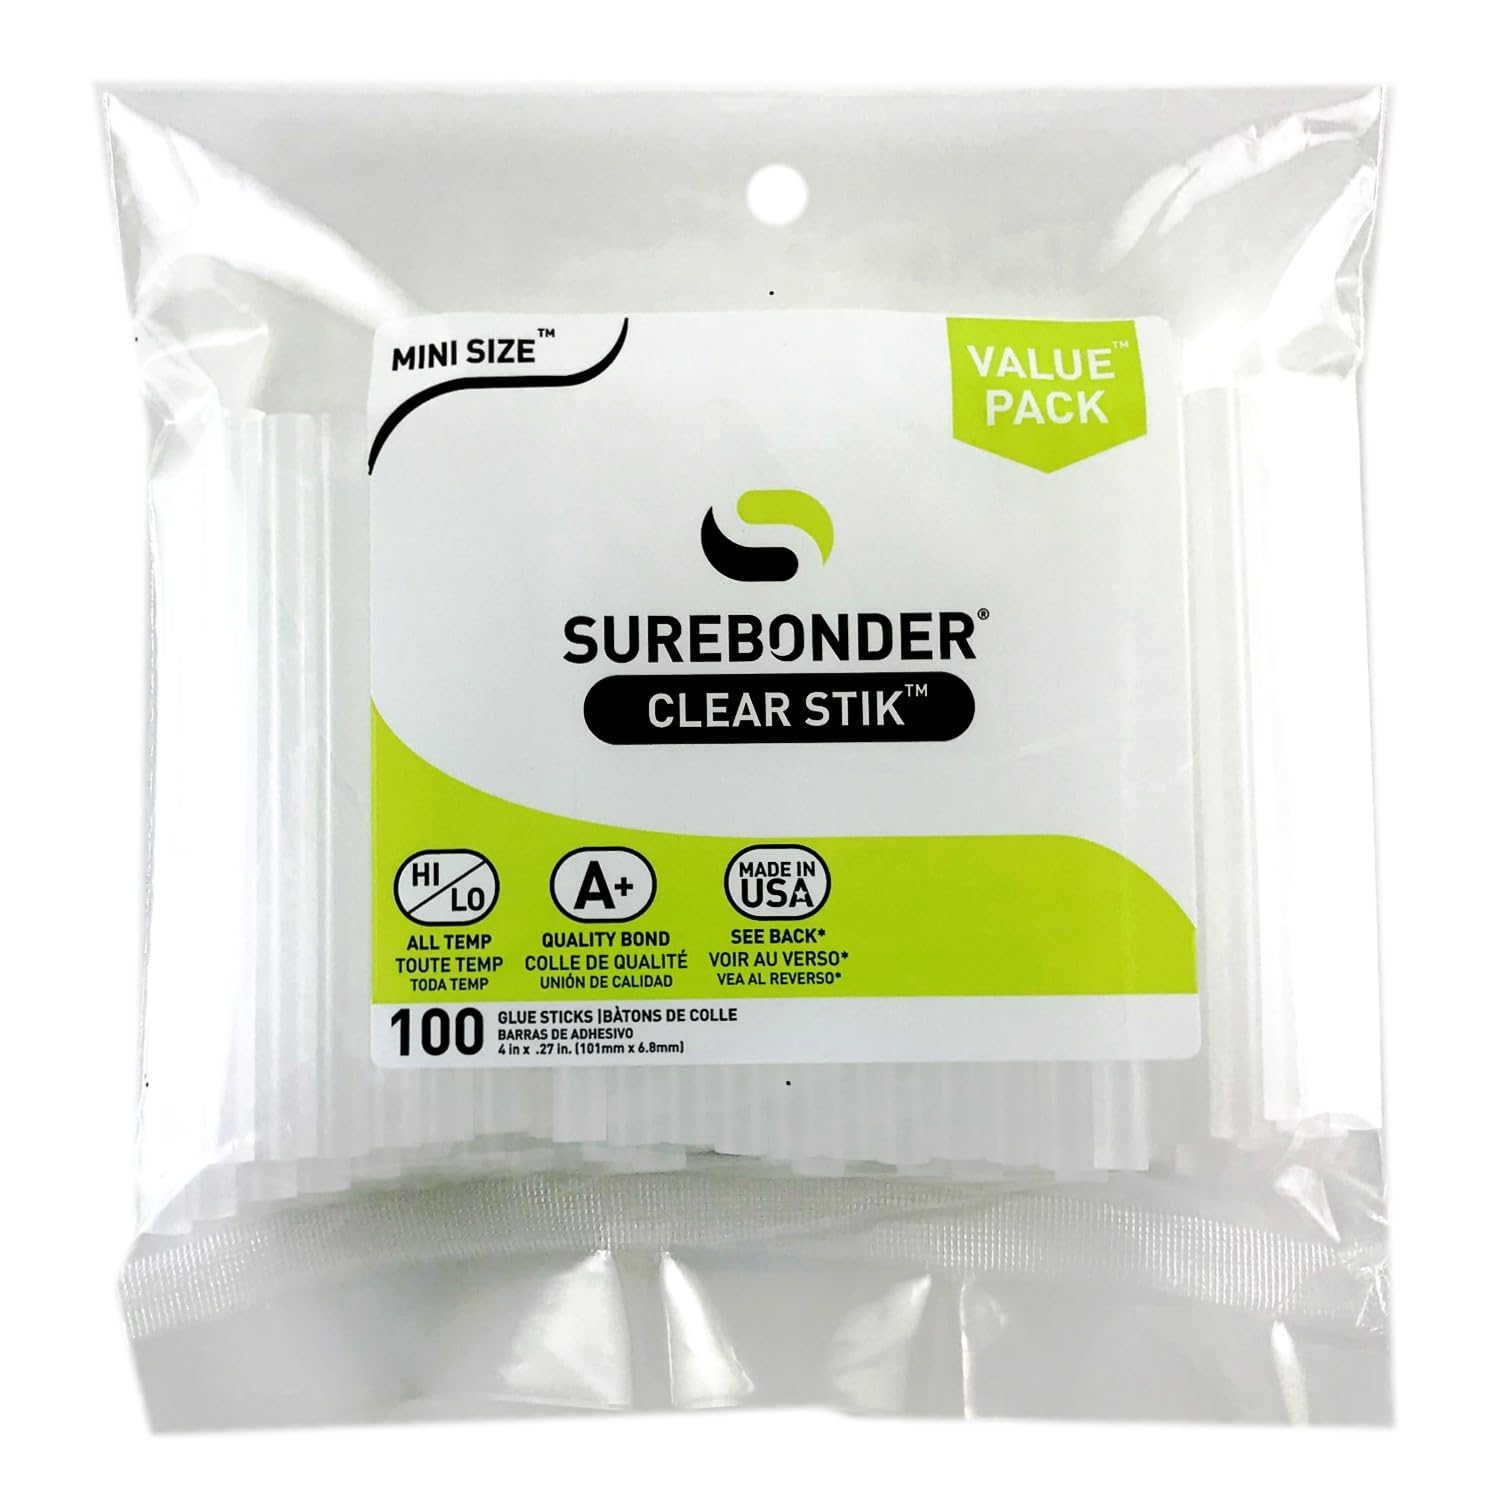
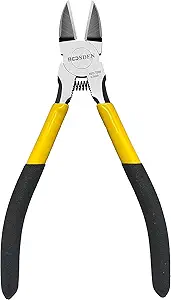
I purchased all of my materials from the Dollar Tree, and I picked up the tools from my local craft store. I have linked some *similar* products on Amazon below that you can use as a substitute for anything you can’t find at your local dollar store. Try to pick up as much supplies as you can from the Dollar Tree to save money!
Similar Materials & Tools on Amazon:


1. First we’ll start by cutting our wire wreath frame.
We’ll want to separate the two inner wire circles from the outer circles, as well as cut away a small section for the headband to fit. In the video tutorial, I use the inner circles as my halo frame, but I plan to use the outer circles to make another halo crown- so you can hang onto yours for later too if you’d like!
2. Next, we’ll attach our headband to the wreath frame.
Use a pipe cleaner to bind one side of the headband in place on the frame so it is taught, that way you can start on the other side properly. String the pipe cleaner through the frame and through the headband, then continue wrapping the pipe cleaner around the headband and through the frame until you almost run out of pipe cleaner. Then you’ll twist the ends of the pipe cleaner together and fold them flat against the headband to them tuck away. Go back to the first side you quickly started on, and rewrap the pipe cleaner in the same fashion, until both sides feel secure and evenly spaced. Once you’re happy with it, you can use one more pipe cleaner on each side to wrap over your work for a clean finish.
3. Now we’ll do a quick design check by laying out all our filler pieces onto the halo.
I like to spread out the florals first to create a nice bottom layer of support for the butterflies on top. The bulk of the butterflies should go on the wreath frame for support, but I also decided to add a few fluttering off in the floral edges as well! You can always tweak this design as you go but for now, you get the idea- so let’s prep our florals for placement!
4. Prep your floral stems and attach them to the wreath frame.
Pull apart the separate wire strands of your floral filler and give them a snip, saving as much working wire as possible. Now you’ll want to start attaching them to your wreath frame. Add hot glue to the base of the floral stem, place it on your frame as desired, then fold any extra stem at the bottom, in half, over the back of frame, keeping it in line with the front of the floral stem for added support. Repeat this process for each of your floral stems, spacing them equally or as desired across your wreath frame.
5. Try on your halo crown and adjust as needed.
Once I added all my wire stems the weighted halo seemed a bit of balance. I tried on the headband and realized it needed a little more support to keep the wreath frame standing tall and upright, so I added one more sparkly pipe cleaner on each side, attaching the halo to the headband once more for added structure.
6. Now it’s time to prep our paper butterflies.
Since these are flat paper butterflies, I decided to slightly bend the wings up for added depth. Rather than just folding them in half, I try to be a bit more precise, only folding the wings, not the whole body. To do this, I use my thumbnail to guide the crease along the outside of the butterfly’s body, gently pulling the butterfly’s wings up towards me, while keeping the butterfly body flat in the center. Lastly I do a little aesthetic cleanup and cut away any extra white spaces between the butterfly body and the wings. But considering I got all these gold foil butterflies for a dollar, I won’t complain.
7. Now its time to glue it all together!
Add a line of hot glue to the back of each butterfly, right along the flat body section we created, and place them on the wreath frame. I wanted to cover the wreath frame completely so I placed my butterflies close enough together to allow their wings to overlap. Hiding the structure will give the floating butterflies a more realistic halo effect. I also tilted the butterflies near the base so that their wings would help cover up the second attachment I created with the pipe cleaners, further adding to the illusion. Once the halo of big butterflies was complete, I glued a few of the tiniest paper butterflies to the outer edges of the florals for a more whimsical, less calculated touch.
Now your Butterfly Halo Crown is ready to be worn and transform you into the beautiful butterfly fairy queen you are inside! I am so thrilled with how this project turned out! I love the height of this crown, I love the halo design, and I love that I had enough supplies leftover to add little butterflies to my face and body for the photoshoot, conceptually tying together the whole look! Overall I give it a 10/10! It was a show-stopping headdress at the photoshoot and no one could believe I made this halo crown for under $10! I so hope you enjoyed this butterfly crown tutorial and if you make your own, tag me so I can see it!
If you liked this Springtime Butterfly Halo Crown DIY, you may also enjoy my Icicle Crown Tutorial perfect for a winter princess!


Leave a Comment