This post may contain affiliate links, which means I’ll receive a commission if you purchase through my link, at no extra cost to you. Please read full disclosure here.

DIY Crystal Quartz Crown Tutorial
This tutorial will teach you how to make a crystal crown, worthy of a Mermaid Queen! This wire-wrapped crystal quartz tiara is built on a skinny metal headband so it can be worn alone or stacked with other crowns to add volume. These subtle crystal crowns are great for a mermaid costume, but they also make a fun accent to an everyday fairy fit. The best part: you can find everything you need to make this DIY crystal crown on Amazon, or at your local craft store. The hardest part: choosing which crystals colors to use!


Watch Video Tutorial on How to make a Wire Wrapped Crystal Quartz Crown
Directions on how to make a Crystal Quartz Crown
1. Arrange crystals.
Start by arranging your crystals as desired. I typically start with my tallest crystal in the center and decrease size evenly outward in a smooth continuous pattern or in a jagged pattern as shown.
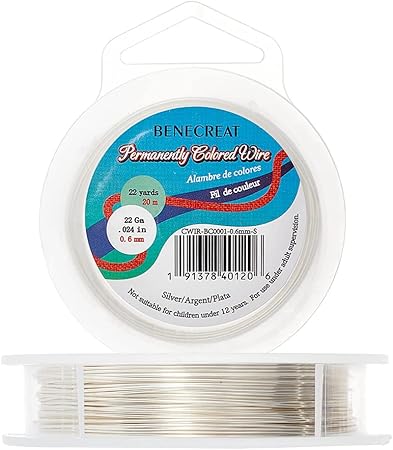
2. Prepare wire.
Cut a piece of wire about four times the length of your design. Find the center point of your wire and headband, and string on your center crystal.
3. Attach the first crystal to the center of the headband.
Holding the crystal in place, loop both wires around the headband by bringing the wire up and over the top of the headband, around the back, then down under the headband, towards you. Now make an X with the wires by crossing them up and towards the opposite sides on the front of the crystal. Bring the wires to the back and create an X on the back side, this time crossing the wires down and towards opposite sides. Wrap the wire around the head band 3 times on each side to add space between each crystal. Use the pliers to tighten the wire.
4. Add another crystal to your headband on either side of the first crystal.
String on your next crystal and lay it on the front of your headband next to the first. Loop the wire around the headband, over then under. Pull it diagonally up across the front of the crystal. Now you will create the X on the backside. Bring the wire across the crystal, down and under the headband. Loop the wire over the top of the headband, and then cross the X by bringing the wire down across the crystal. Flip it to the front of the crown and complete the front X by bringing the wire up and across the crystal.
5. Continue adding crystals to your headband to create a crown, then cut, wrap & tuck in any excess wire.
Loop the wire around the headband three times and pinch tightly with the pliers. Continue this pattern for the remaining crystals until you a made a beautiful crystal crown. When you finish adding the final crystal on each side, wrap the wire around the headband a few extra times and pinch it tight with the pliers. Cut off excess wire with the wire cutters. Use the pliers to tuck the tail of the wire under itself or back into the crystals so you don’t get poked!
6. Add ribbon for a more finished look.
You may choose to wrap your crown in ribbon or leave it all metal as I have.
That’s it! Now you have a beautiful handmade crystal crown.
If you found this DIY helpful, please like the tutorial video and subscribe to my Youtube channel. If you’ve tried the tutorial, leave me a comment to let me know how your crystal quartz crown turned out. Tag me in any progress photos on Facebook or Instagram so I can see your masterpiece. Thank you for watching and happy crafting!


Leave a Comment