This post may contain affiliate links, which means I’ll receive a commission if you purchase through my link, at no extra cost to you. Please read full disclosure here.
The Viral LED Mermaid Tail
ICYMI, last week Finfolk Productions revealed their “Sivako” tail that totally lights up underwater! They introduced their beautiful new Evenstar fluke, which is covered in flowy tendrils; but on this particular tail, the tips glow bright blue underwater! The video went viral instantly as fans and new comers alike showed adoration for the skilled craftsmanship that yielded such a wondrous underwater light show. This silicone mermaid tail has been engineered to have over 50 hand wired and waterproof LED lights inside of it. An absolute masterpiece, you can see their LED tail in all its glory here!
MOW Fluke Glow Up!
After being totally mesmerized by the beauty of Finfolk’s new light-up tail, inspiration struck! I recognized that the FF Manowar fluke had tendrils comparable to the new Evenstar fluke, and could be lit up in a similar fashion. I immediately dug up some old supplies from a previous failed unfinished mermaid project to see if they would work. Using waterproof battery powered LED lights, I was able to work them down into the Fabric tendrils of my Midnight Tide Tail, AND they were bright enough to shine through the dark fabric while swimming. Check out the side-by-side of the two tails in action!
How to make your own LED Mermaid Tail
*Under $12 in upgrades*
Finfolk Production’s LED silicone tail went instantly viral and the demand for accessible swimmable light-up tails was echoed throughout the mermaid community. I present to you, a temporary DIY solution, in which you can make your own light up tail for under $12 *if you already have a mermaid tail!
In this tutorial you will learn how to add waterproof LED lights to your mermaid tail. I recommend using a fabric Finfolk Productions tail with a Manowar fluke, because the tendrils hold the lights perfectly!
Supplies:
- Waterproof LED Lights (20 for the MOW fluke)
- Mermaid Tail (FF Manowar Fluke Preferred)
- optional Needle & Thread
1. Test your Lights.
Start by testing your lights to ensure they work- when you order in bulk sometimes you get a dud. The Manowar fluke has 20 tendrils so I tested 20 lights.
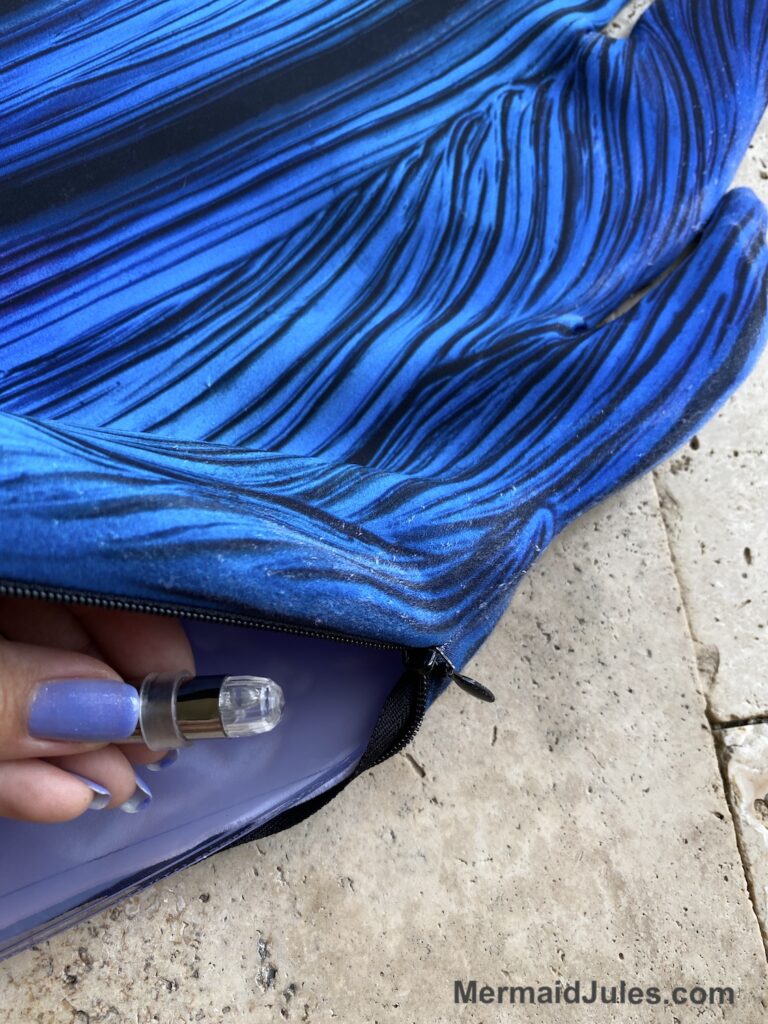
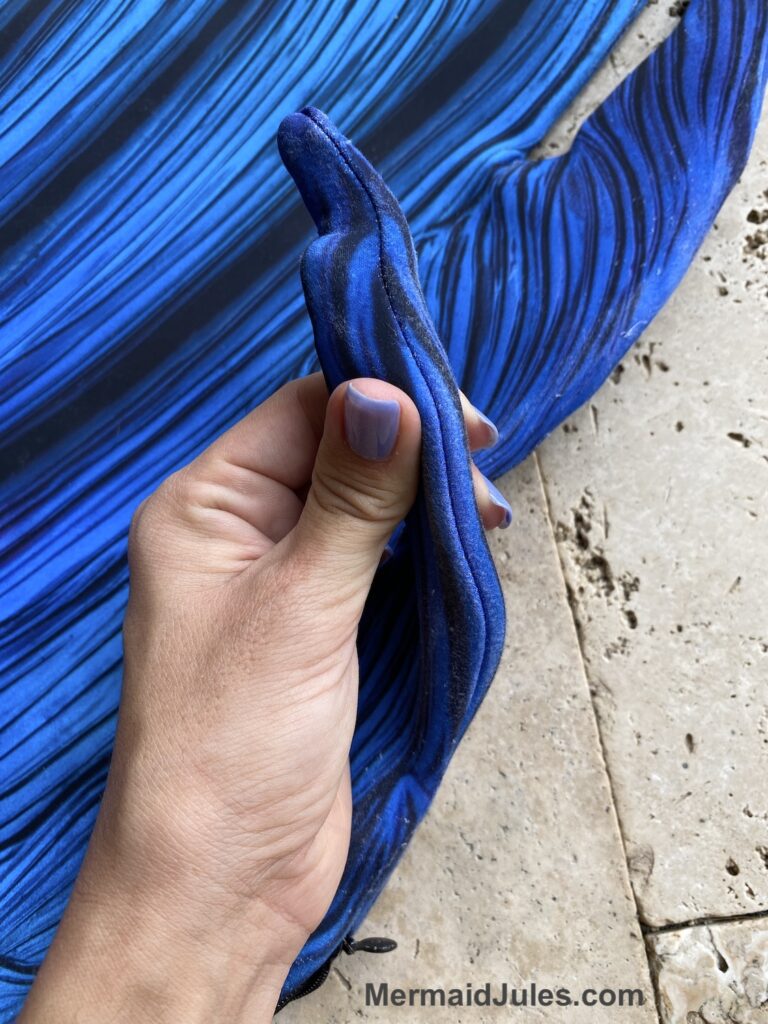
2. Insert one light into each Tendril.
Now for the tedious part. One at a time, insert a LED light inside each Tendril. You can leave your plastic casing inside your fluke. Simply line up a LED with the opening of the tendril, then push it down with your fingers or a dowel until it reaches the end of the tendril. You can use your fingers to manipulate the fabric from the outside, working the light down into place.
Some tendrils are sewn tighter than others; as such, the waterproofing circle may come off your LED while moving it down. It may take a little finesse, but it is possible to slide the o-ring back around the LED light from outside of the tail.
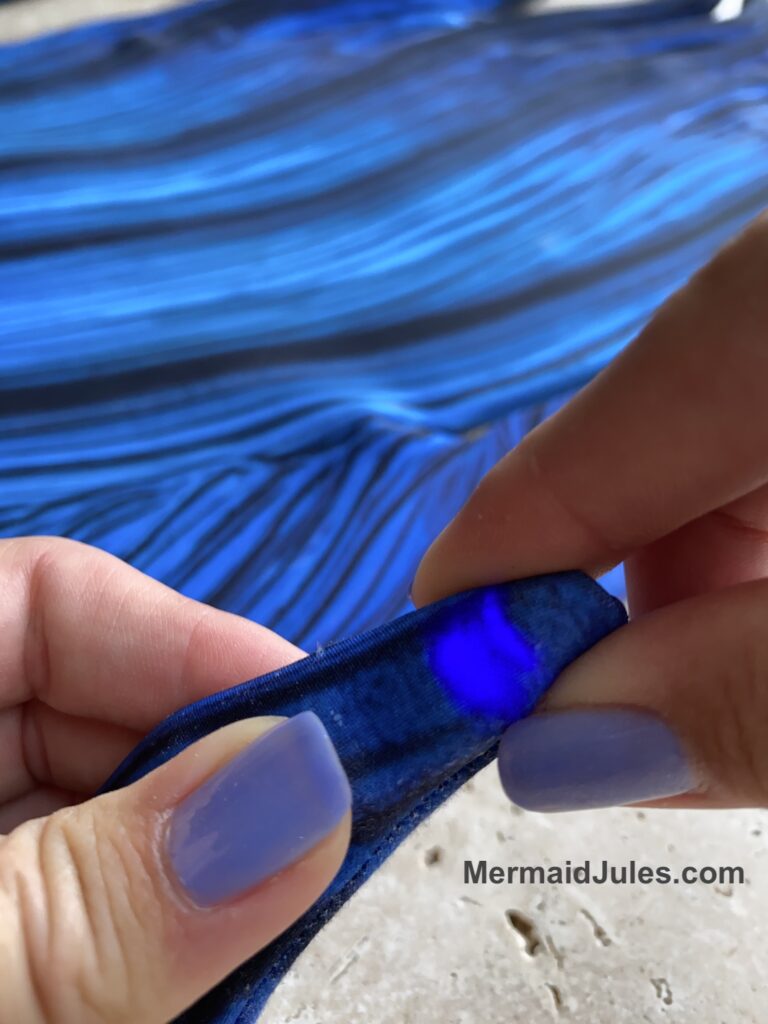
3. Twist on the lights!
Remember when we tested the lights? That was some good practice because now you will be twisting them on from OUTSIDE the tail. Feel around and grasp both sides of the light, then twist until it lights up bright. Take this time to feel around and ensure that the waterproofing circle feels secure in place as well. Once all the lights are on, hop in & go for a swim!
@anythingjules Would you swim in this tail? 🖤🌈💡🧜🏼♀️ tutorial coming soon. ##siren ##mermaid ##rainbow ##glowinthedark ##underwater ib: @finfolk_productions
♬ Dynamite - BTS
About the lights:
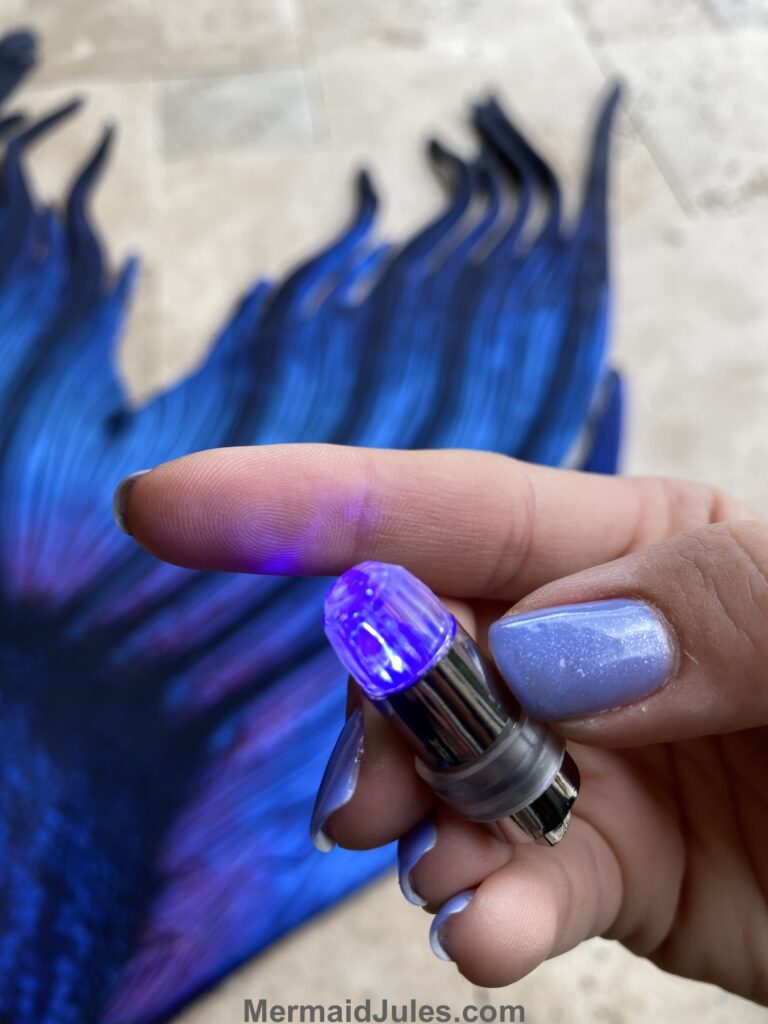
I found these amazing waterproof LEDs on Amazon and here is what I love about them:
- They’re waterproof/ fully submersible.
- The LED’s are super bright– bright enough to shine through my dark fabric tail and the water.
- They are supposed to last 4-5 hours, though reviewers have reported these lasting “up to 3 days” left on. “They will start to blink only red when there is little power left.” This makes them perfect for a one time event, performance, or photoshoot. Plus you can always twist them off to conserve battery power if you only need them for a short appearance!
- Each LED has a hook at the bottom, so you can choose to sew the lights in place! The end attached to the tail can be unscrewed from the dead LED and a new one can be installed in its place without having to pull out your threads. I think this could be useful in the body of the tail, but replacing a LED sewn into a tendril could be pretty tight. I just let me tendril lights float free!





Mer- Arikah Nash
September 7, 2021 4:02 PMWow!! Thank you Mermaid Jules
cycyy8
March 1, 2022 5:32 PMyeah this is AWESOME
cycyy8
March 1, 2022 5:31 PMWOW THIS IS MY NUMBER ONE THING I’M GOING TO MAKE TODAY THANKS mermaid jules